Molding & Casting
For start this week assignement i choose to work on the support of the axes for my final project.
Molding:
First i need to create a mold of it, for this operation i try to use the integrated CAM functionality of Fusion 360.
CAM Fusion :
On a first step i need to prepare a half sided negative of my piece. For this i use the boolean fonction of fusion.
After i make a new piece with the dimension of the stock i want to use for machining (the sculting wax i have is 77mm / 52 mm / 27).
And i use the previous piece i make and a copy of it to dig onto this piece with boolean operation.
Now i have a modelisation of my latex mold, go on the manufacturing (CAM) section.
Start by setting the stock, the body & the coordinate point i want to use.
After i check on the preload library if i find the tool i want to use (a 3mm flatend mill). But i don't find the one i want. No probleme let's go setting it ^^.
Now let's go prepare the milling workflow, choose the pocket clearing tool & configure it for a rought milling (let 0.5mm from the final form) for after doing a finition pass & have a clean result.
For the finish pass i follow the same workflow but selecting a really short step down (0.5mm) & doing a paralelle pass for have a really clean result (hope so ^^)
After setting all the different workflow i'm going to Creating the NC program on this i choose:
- Where i want to save my file.
- The file extensions i need.
- the Unit i want to use on the NC program.
- And the Machine i want to use.
When i finish to set this just press Post to create the NC file.


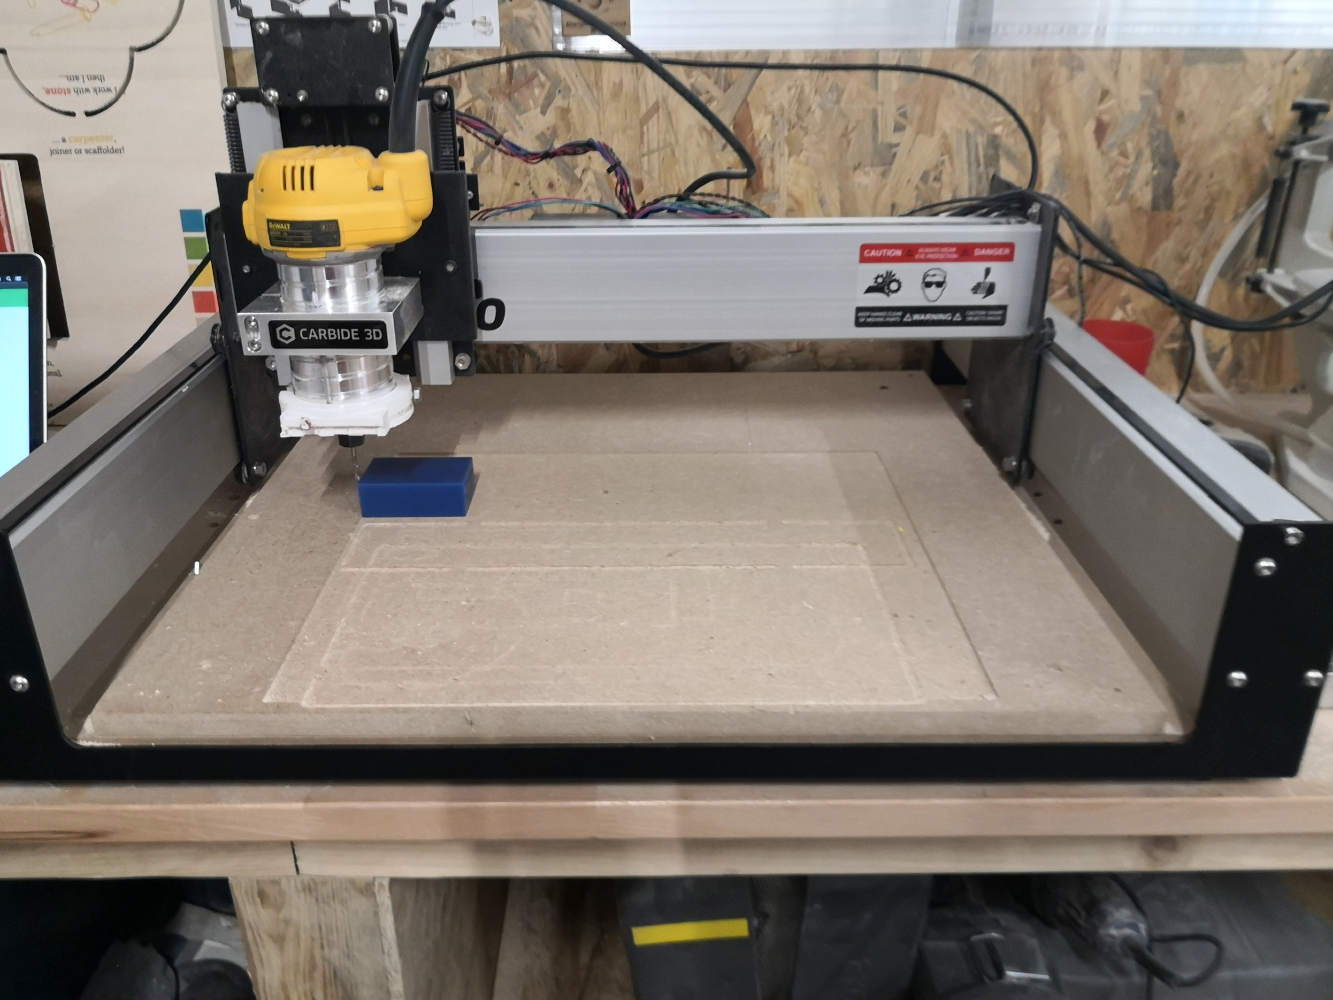
Milling the mold:
For milling the mold i'm going to use the Shapeoko 3 from Carbide 3D a nice mide-size CNC machine.
And a block of machinable wax.
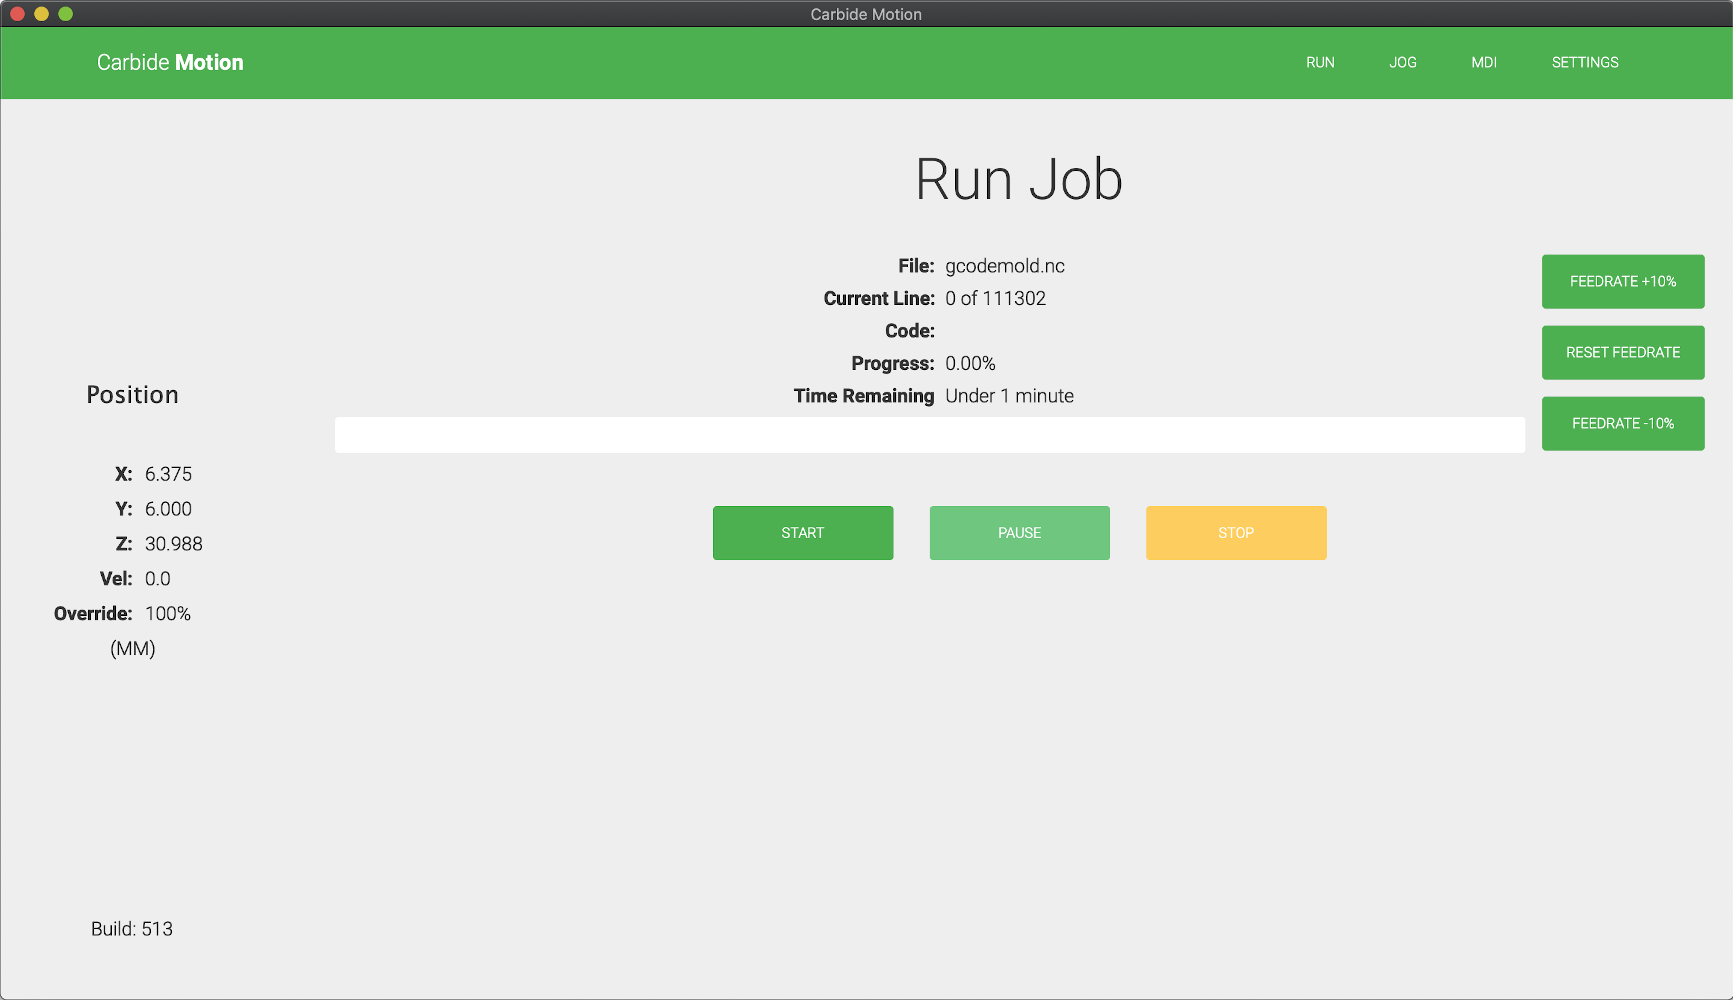
Let's go on the the cardide 3d software, first connecting the machine.
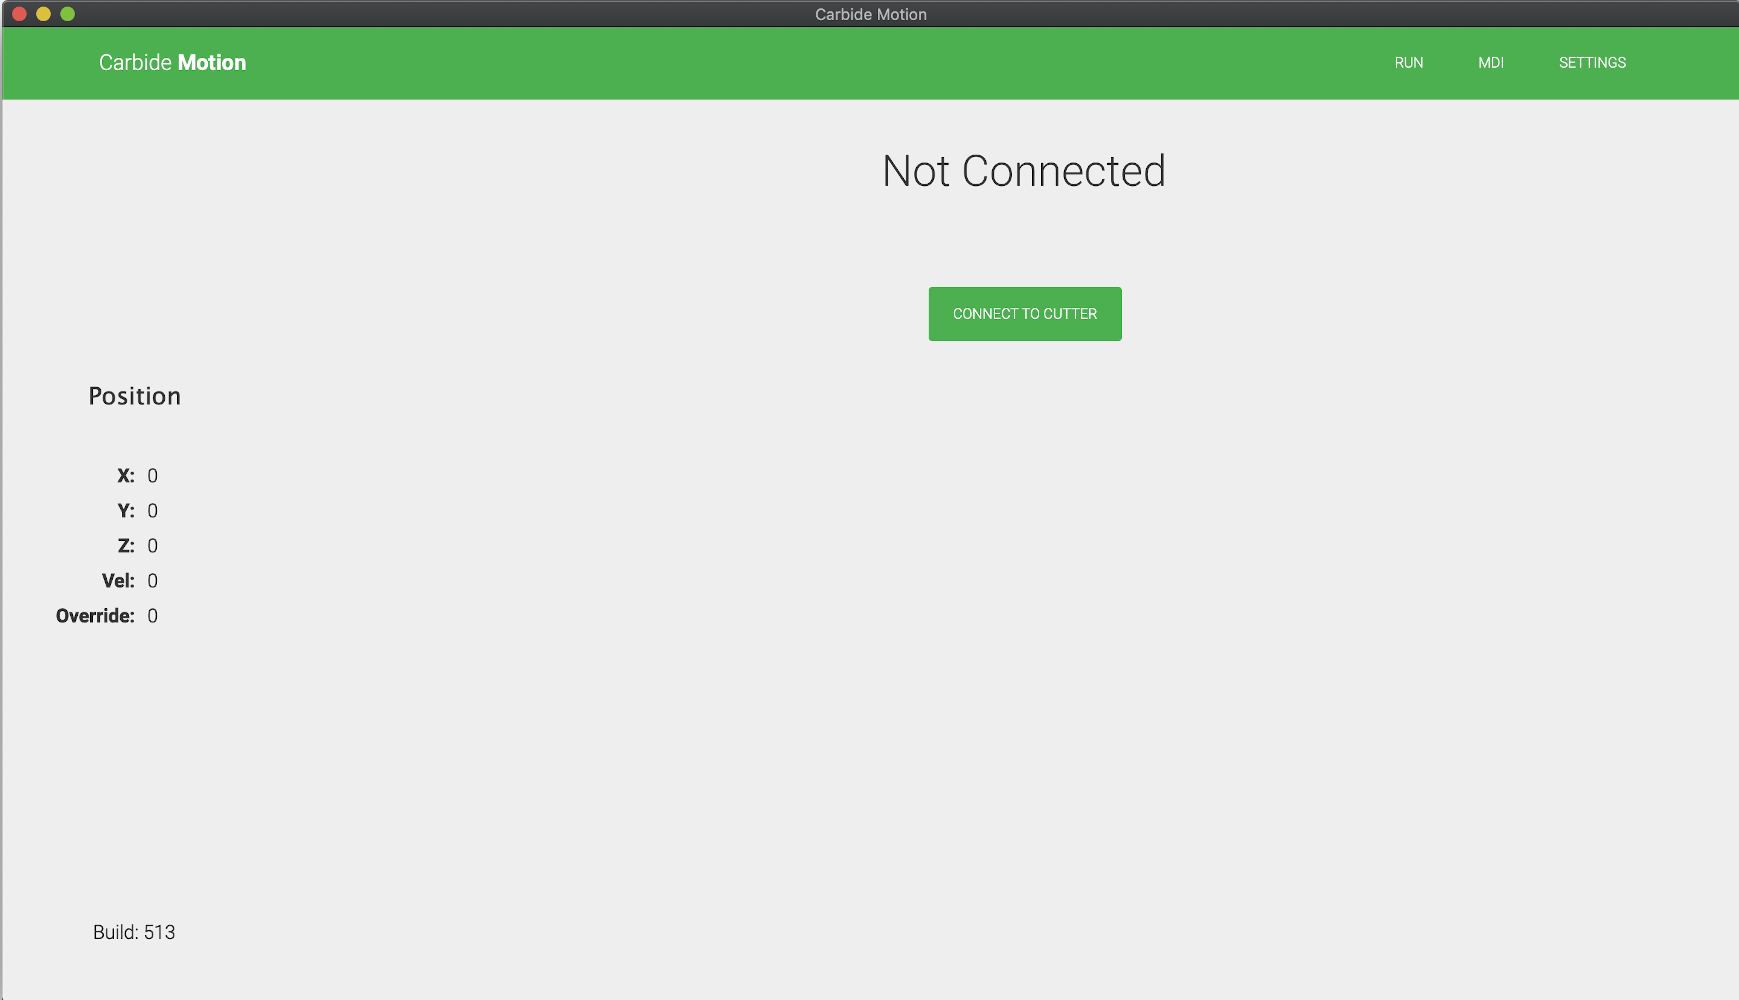
Setting the X & Y axis Zero positions.
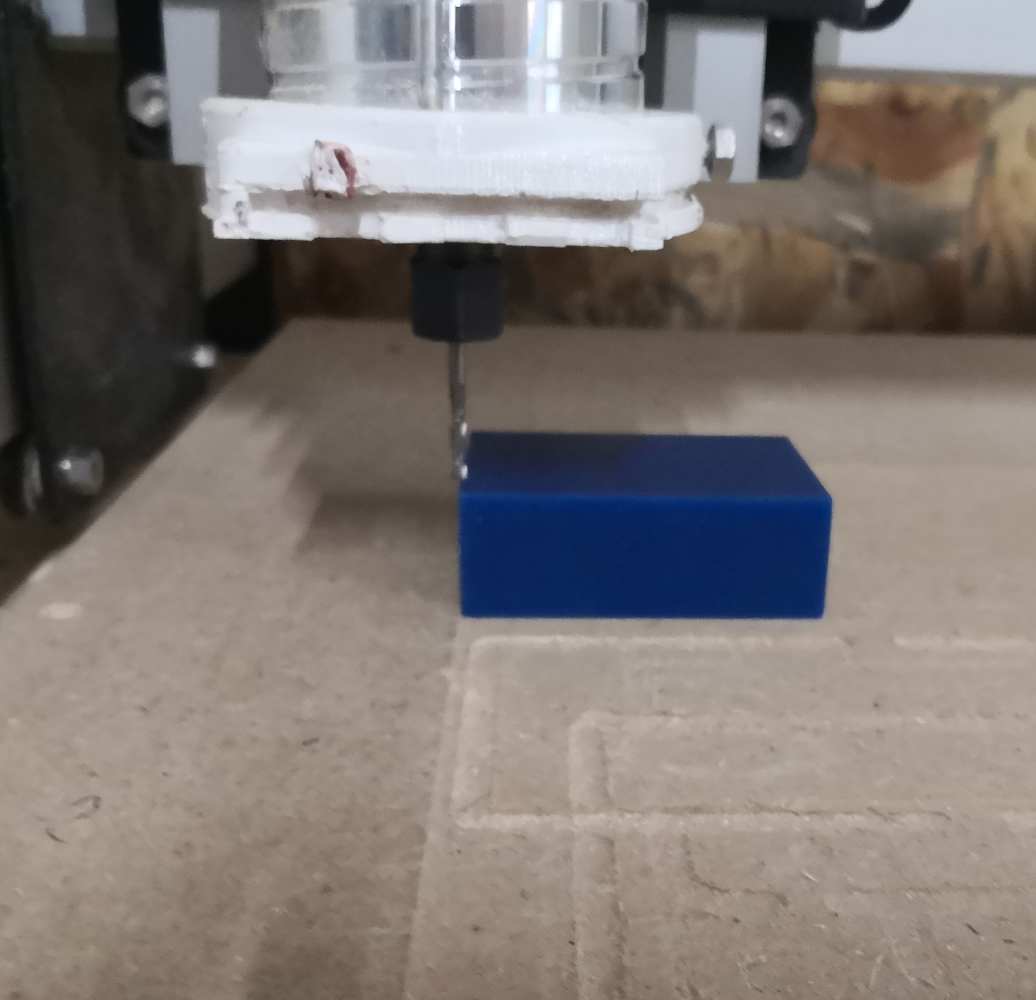

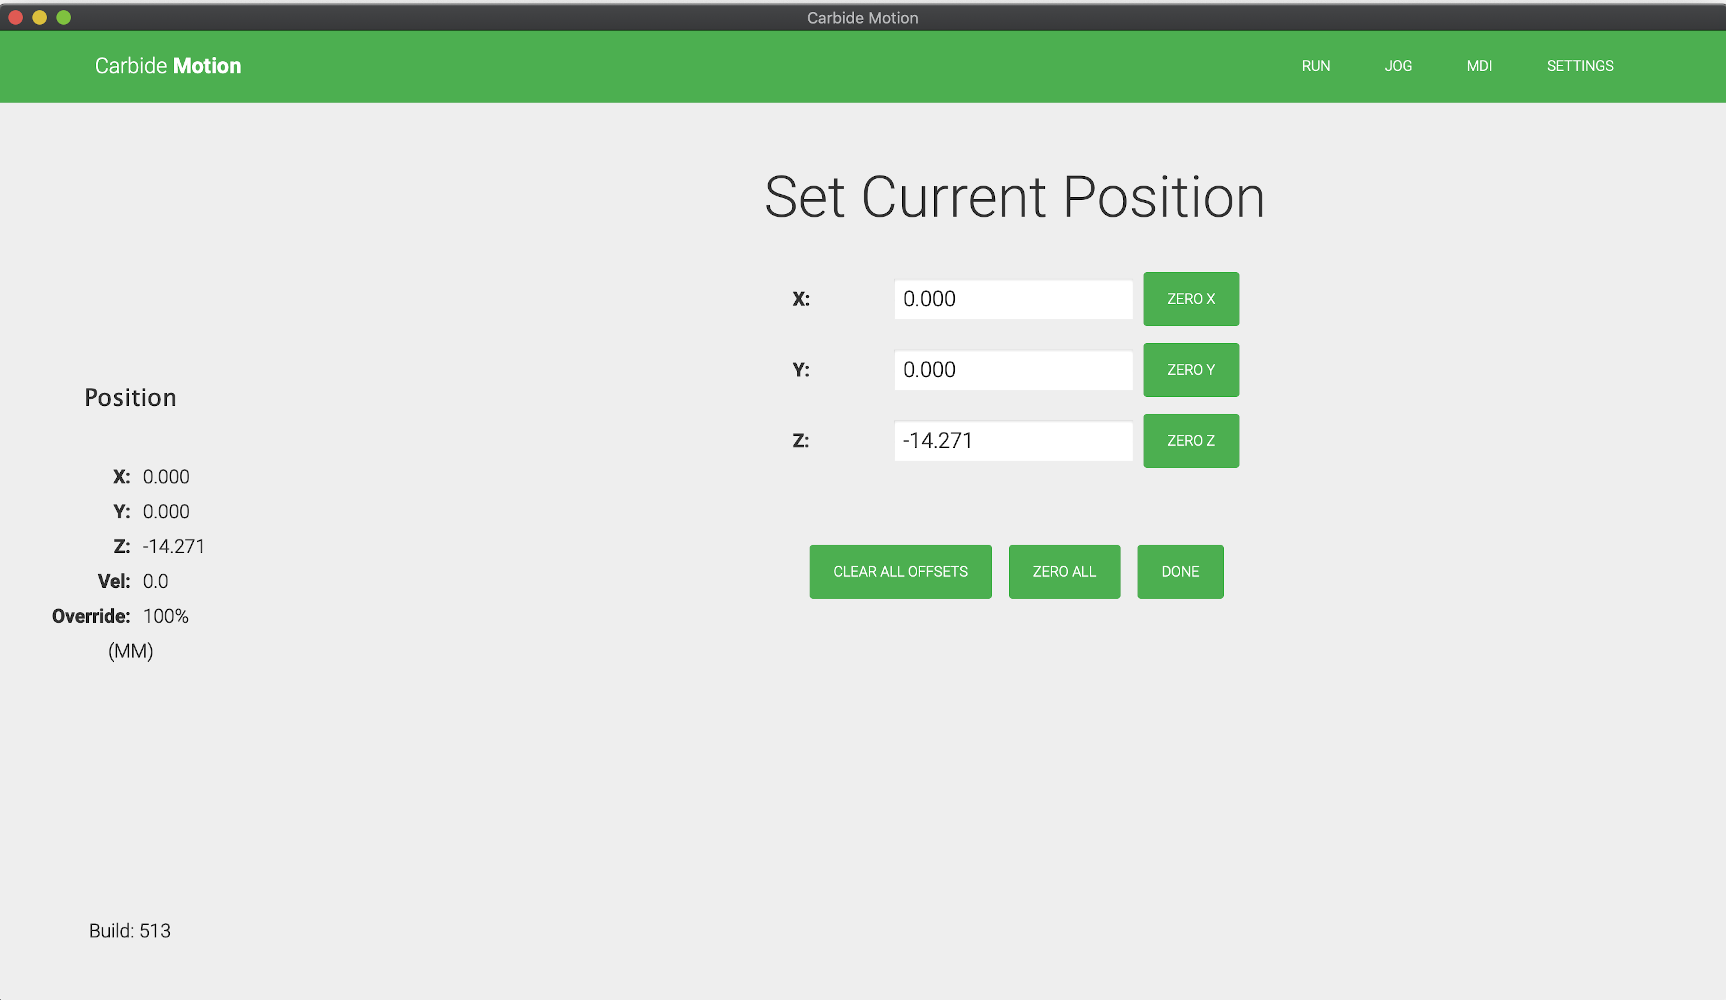
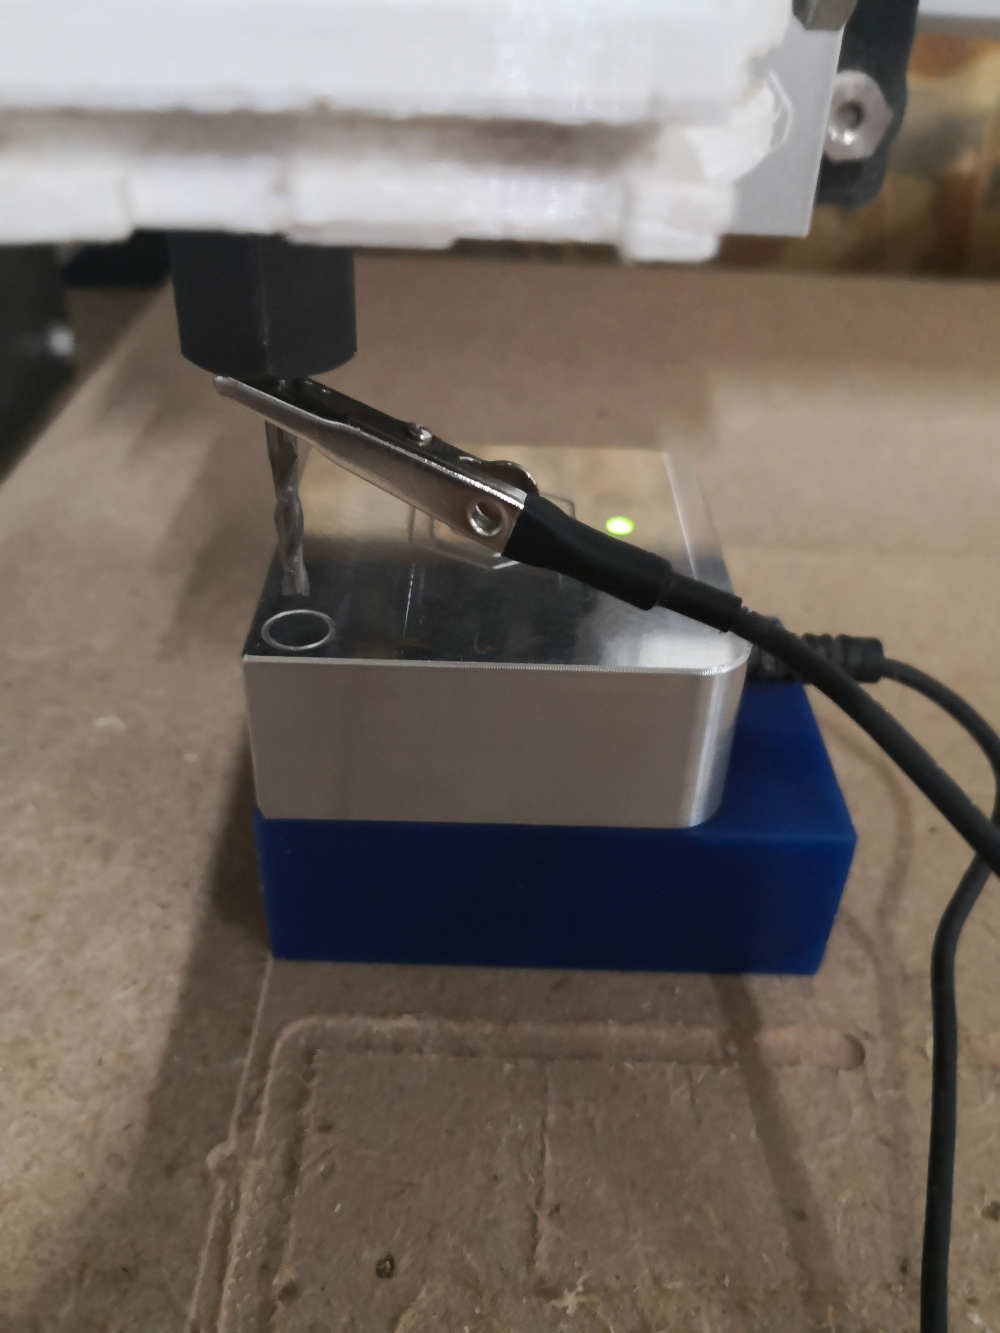
Setting the Z axis zero positions.

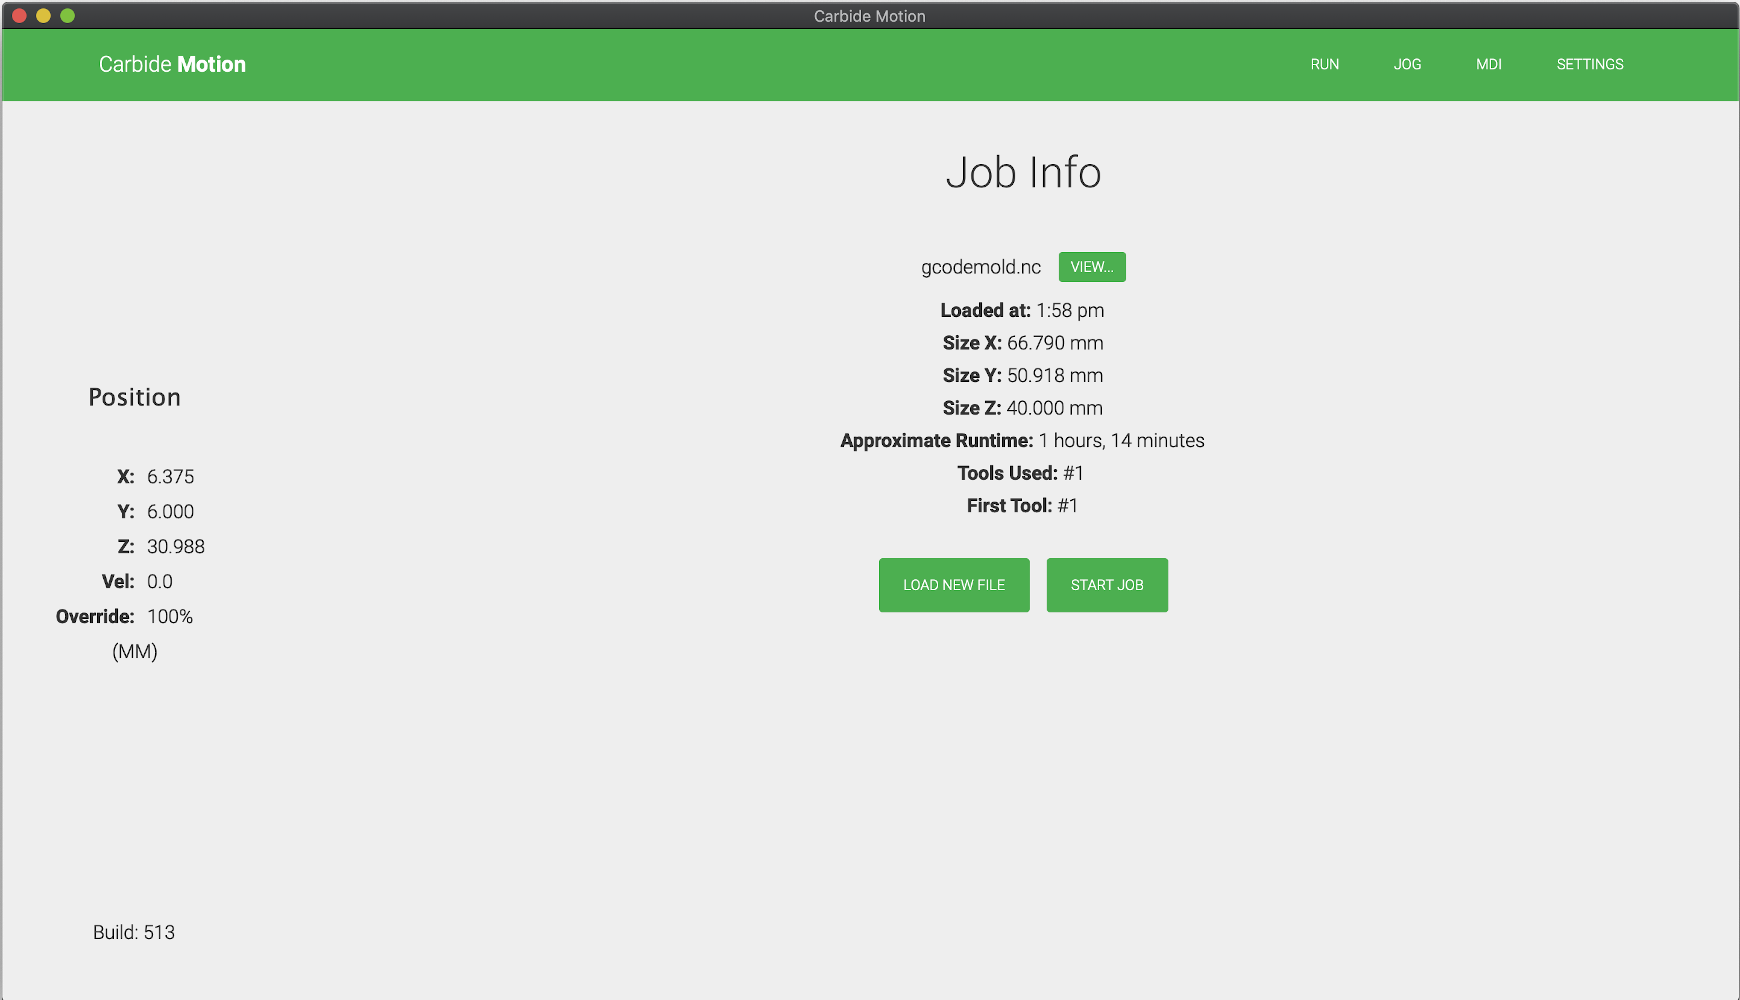
Loading the NC files we create before, and launch the milling.
The Finish result is really pleasant but on the zeroing part of the X & Y axis i make a little mistake and don't have a lot of error place make missing a part of wall on my mold.
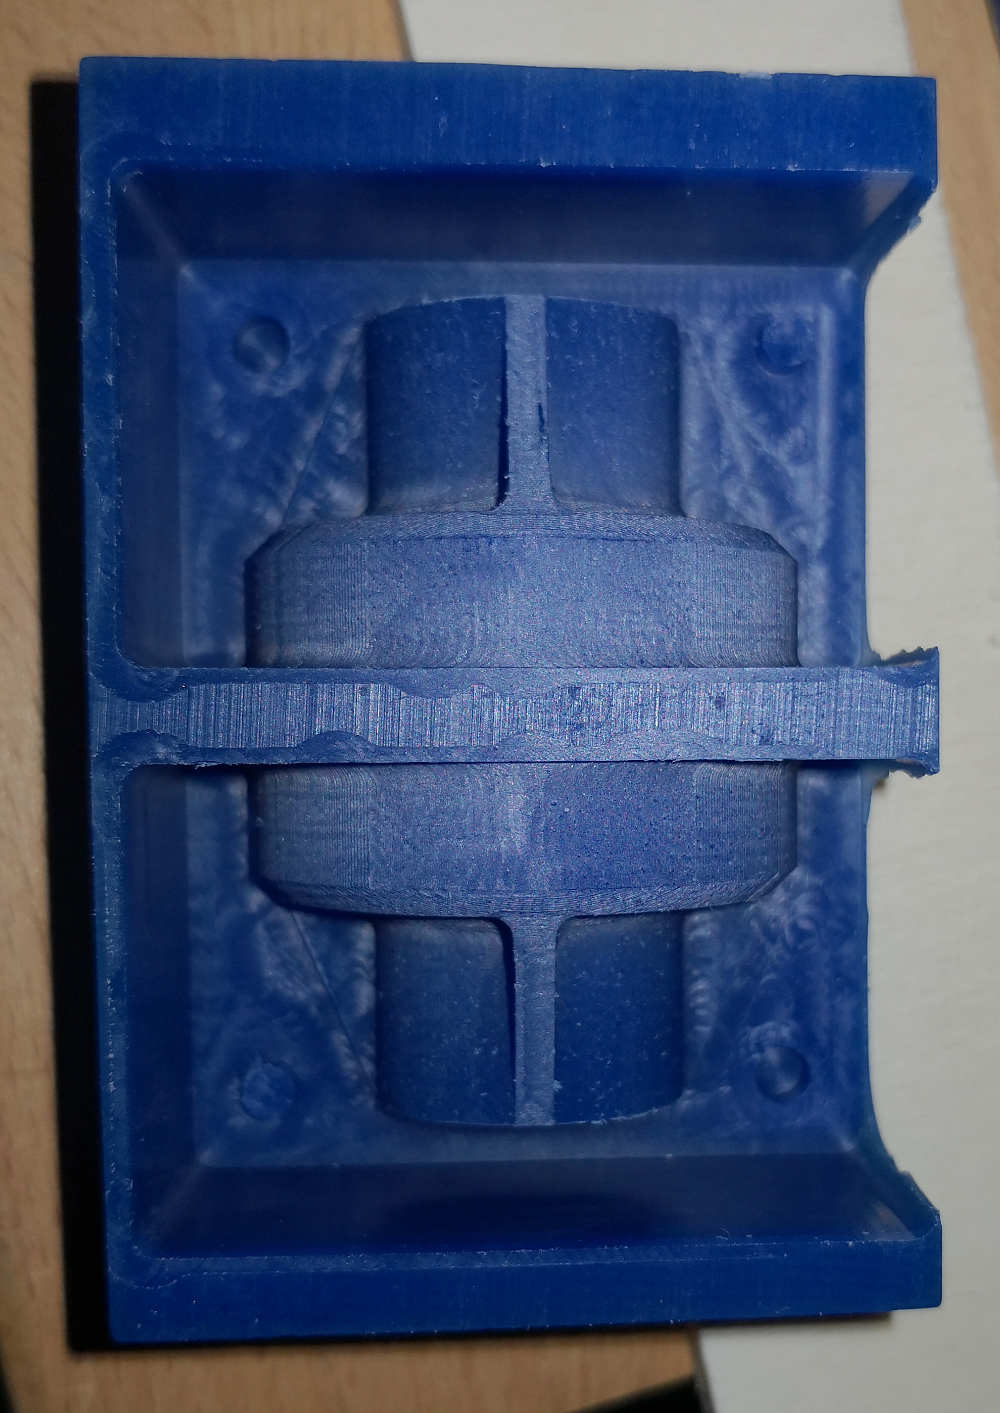
But no worry i could use a small piece of wood to replace it ^^.

Know i finish to prepare the Mold let's go on the casting part.
Casting
For start the casting parts let's check what we have to work and what is the different security we need to work with it
Material & security rules (group assignemnt):
For Casting we gonna use some chemical product so knowing the safety use of each product is really important.
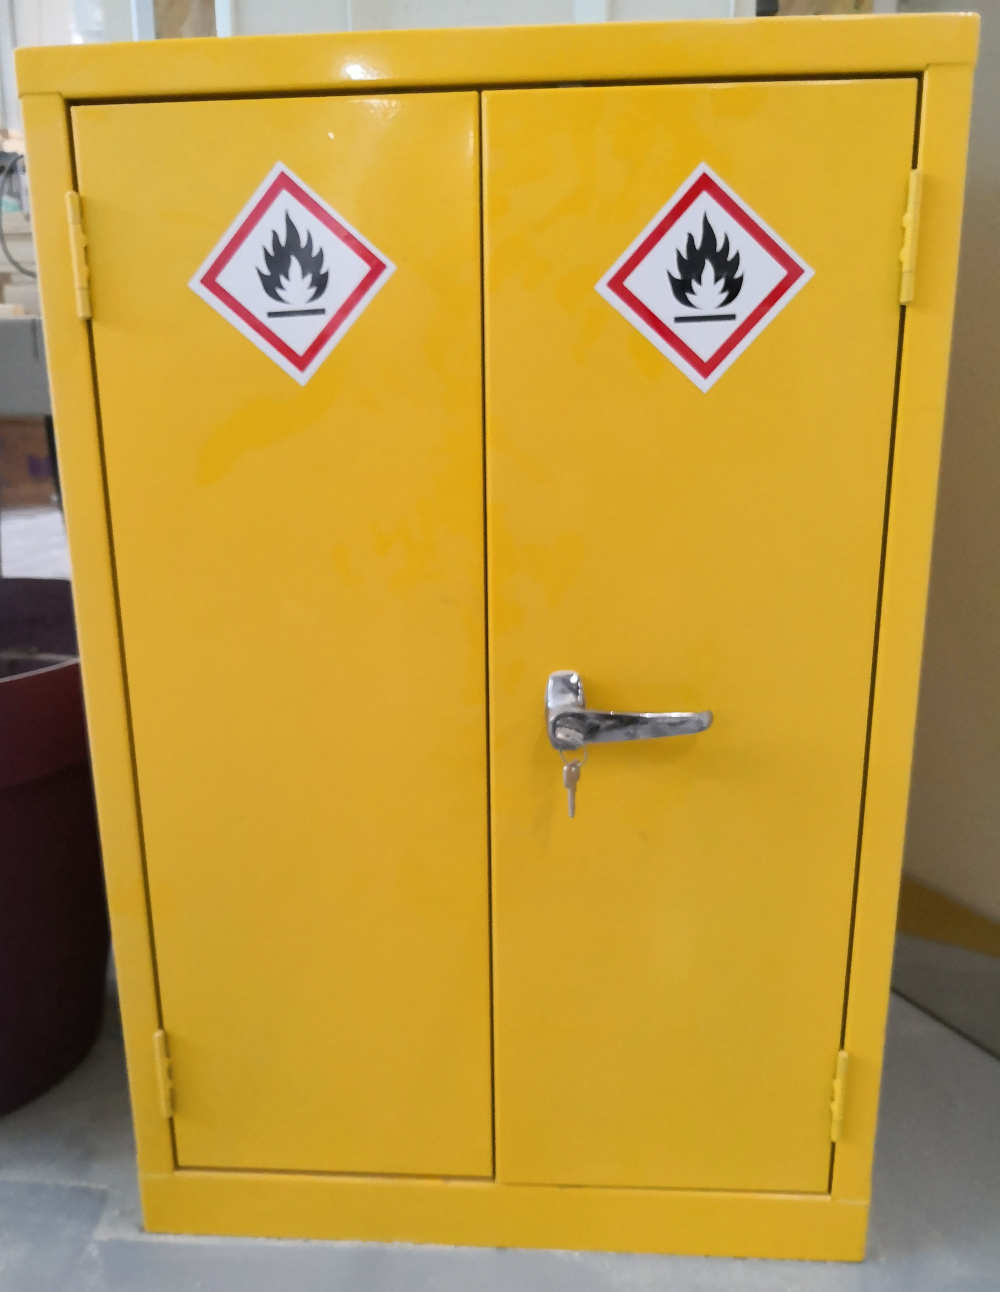
On "La Machinerie" the different chemical product was stock on a special storage close by key for prevent no controlled use.
I'm gonna described to you the different product i'm gonna use on this storage:
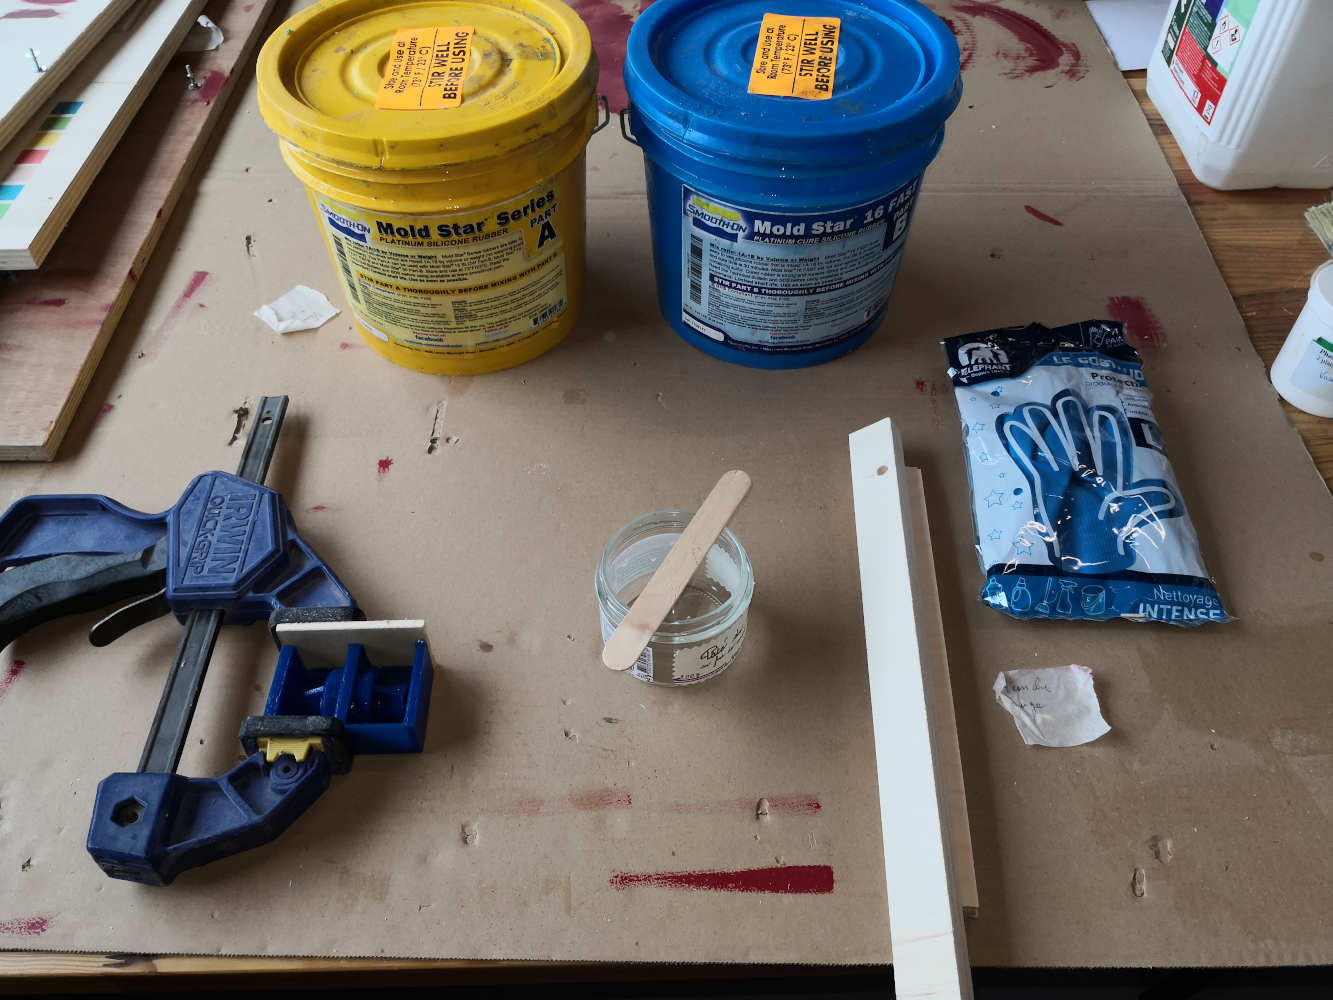
- Mold Star serie - Platinium Silicone Rubber from smoth-on :
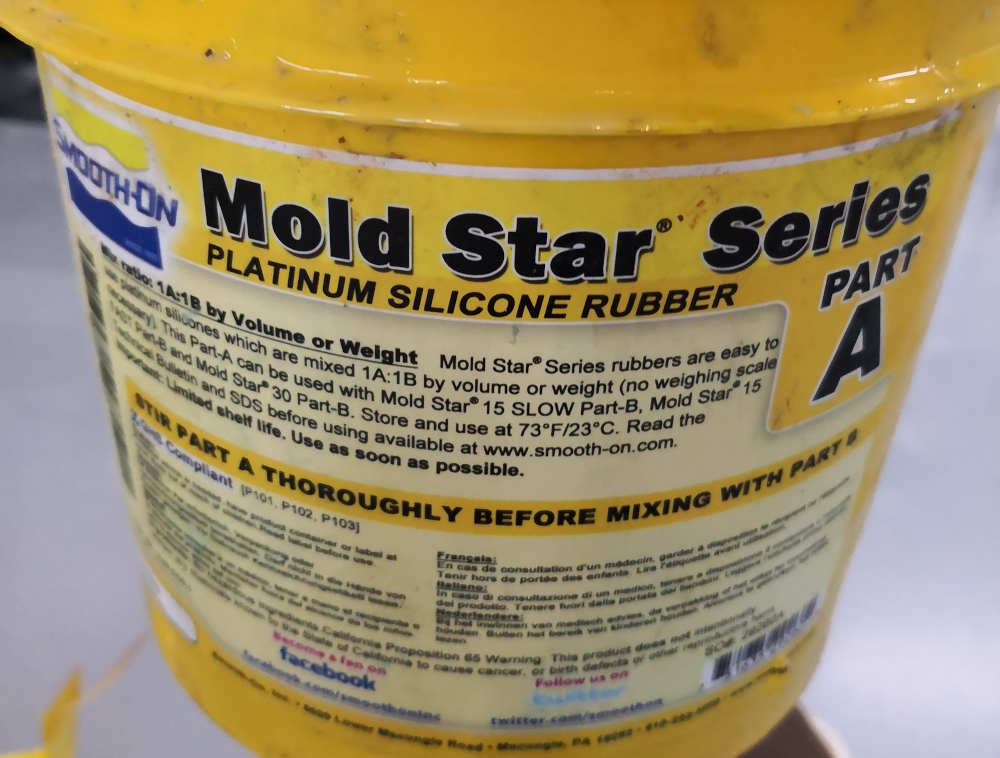
A two composant blue silicone elastomer with a pot life of 6 minutes & a cure time of 30 minutes.
The recomandation to use is to wear mask, gloves (no latex gloves, this could inhinit the cure.), and eyes protection. Special clothing is not require but could be interessting to protect from spliting ^^.
We have to use it in a properly ventilated area & a release agent could be use but not necessary.
It's a 1:1 volume mixing volumes and need to pre-mix part A & part B separately.
Vacum degassing it's optional. - FormCast Rhino - PoliUrethane resine from FormX :
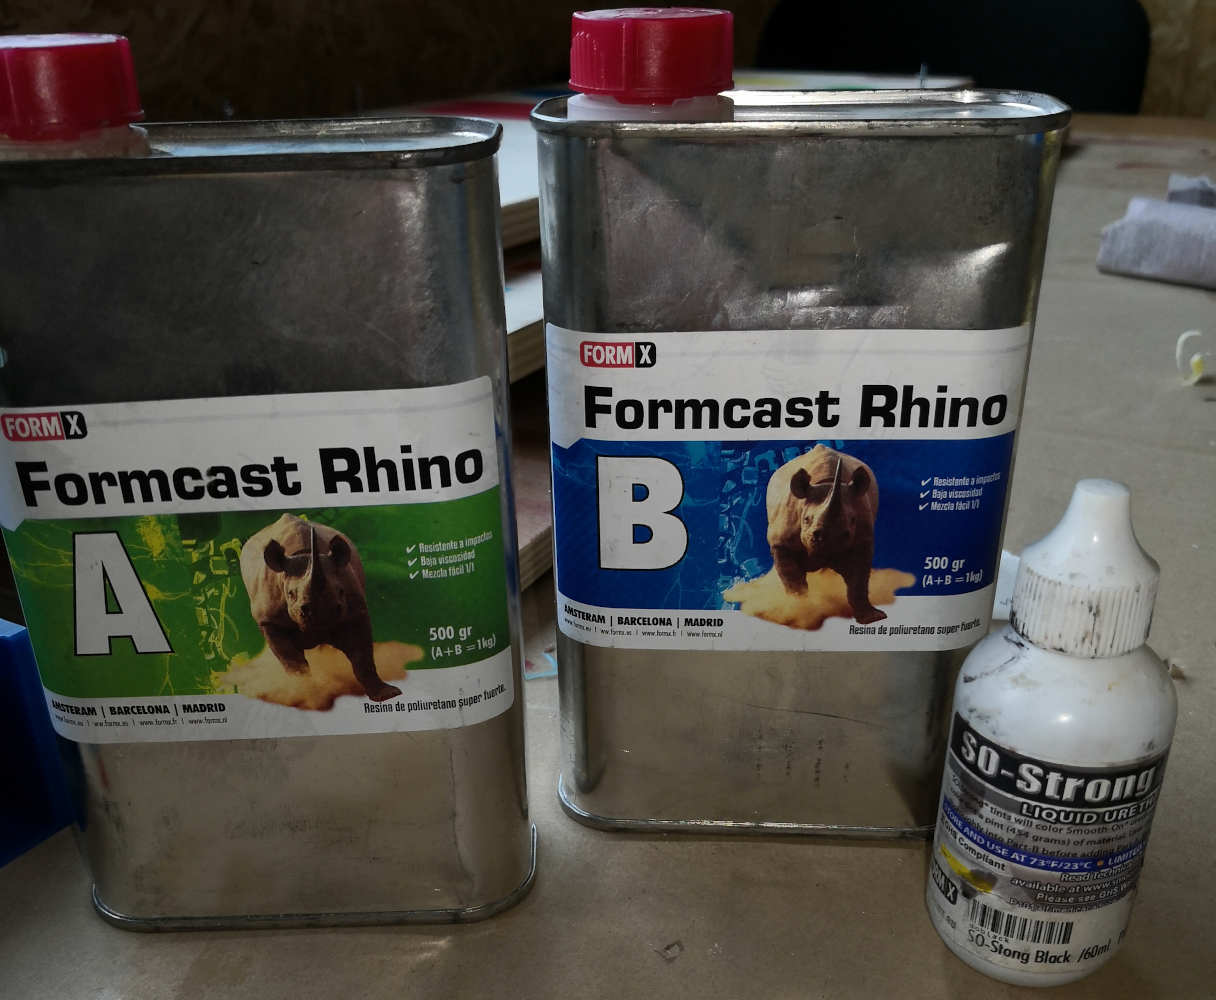
A two composant Plastique Urethane resin (normaly ivory colored but here i'm gonna add a litle of So-strong tints from FormX for a black result.)
The pot life of this PU resin is about 2 minute & the cure times is One & half hours.
It is recommended to wear protective clothing such as: a long sleeve shirt, laboratory gloves, safety goggles and carbon foot mask. And work on a properly ventilated area.
it's a 1:1 volume mixing volumes, before add the part B we have to put the coloring tints.
Silicone casting:
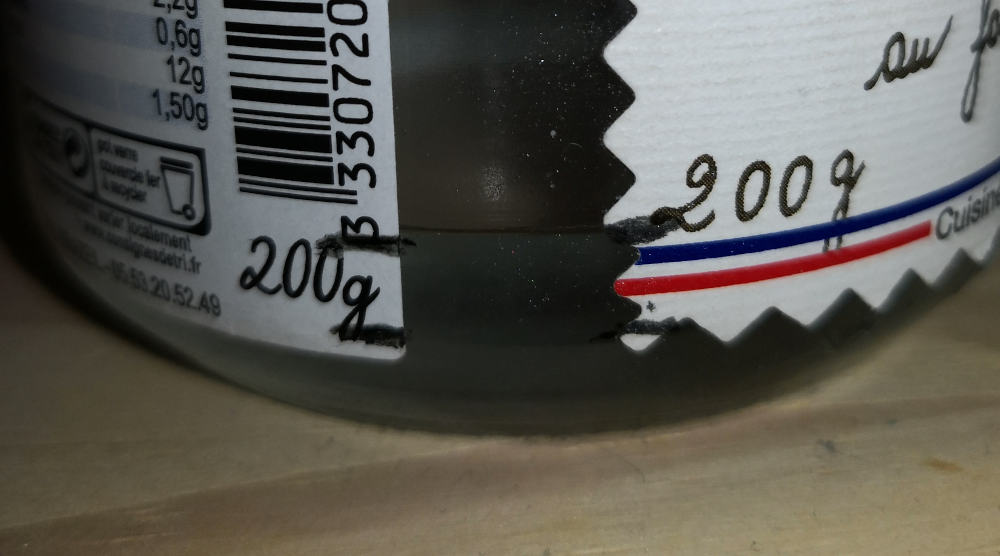
Before start the cast i have to mesure the volume of product i need to prepare, for this i fill my wax mold with water and transfert it to the jar i'm gonna use for doing my mix & i make a mark on the jar
I restart a second time, but filling only one part of the mold for have the measure of the volue of the half of the mold after remeber myself i need one for one of each product....
Drying the jar & the mold and let's go to casting some silicon rubber ^^.
I choose to use some vaseline as a release agent du to the wood wall i have, i want prevent the rubber incrustation on the wood vein.

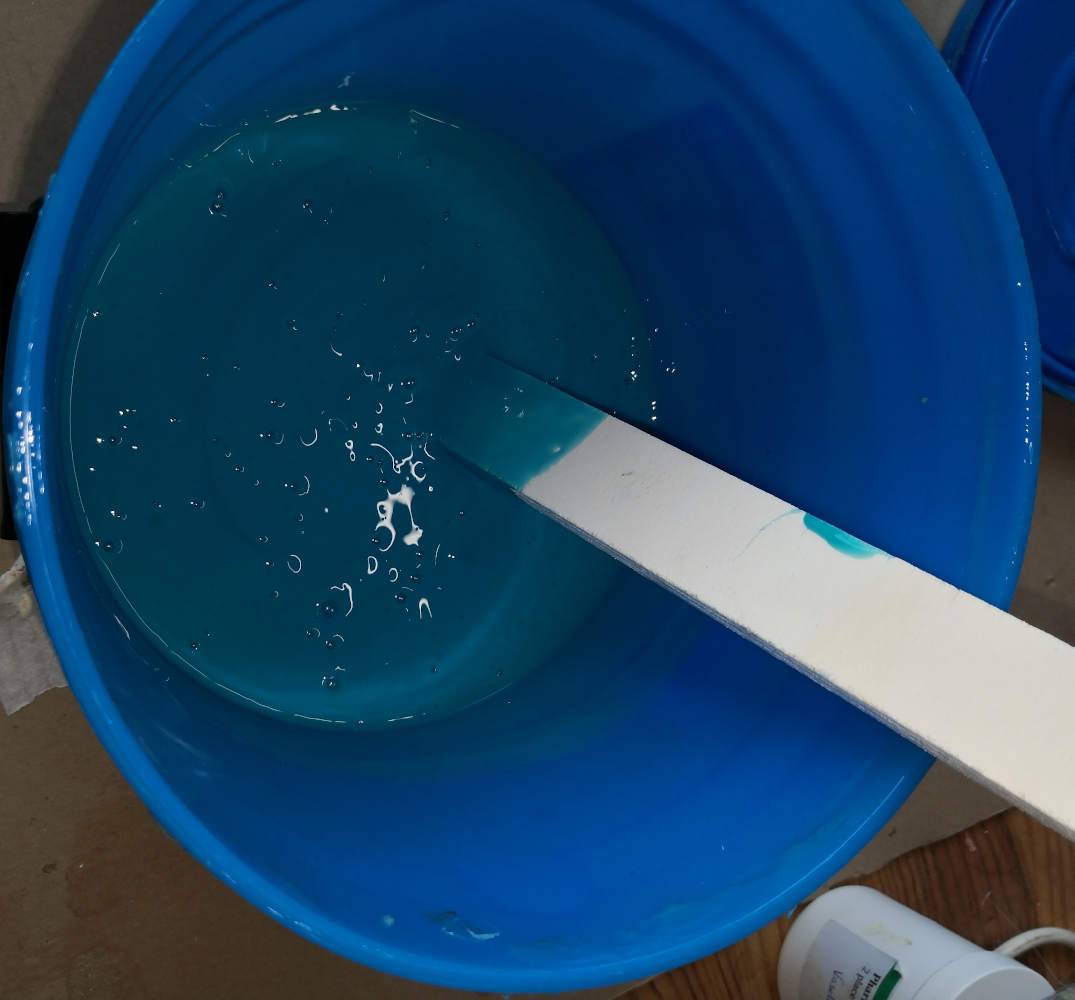
I prepare the two base separatly, dose it in the right volume and pour on the Mold. (Oups i going to far and split over a litle bit)
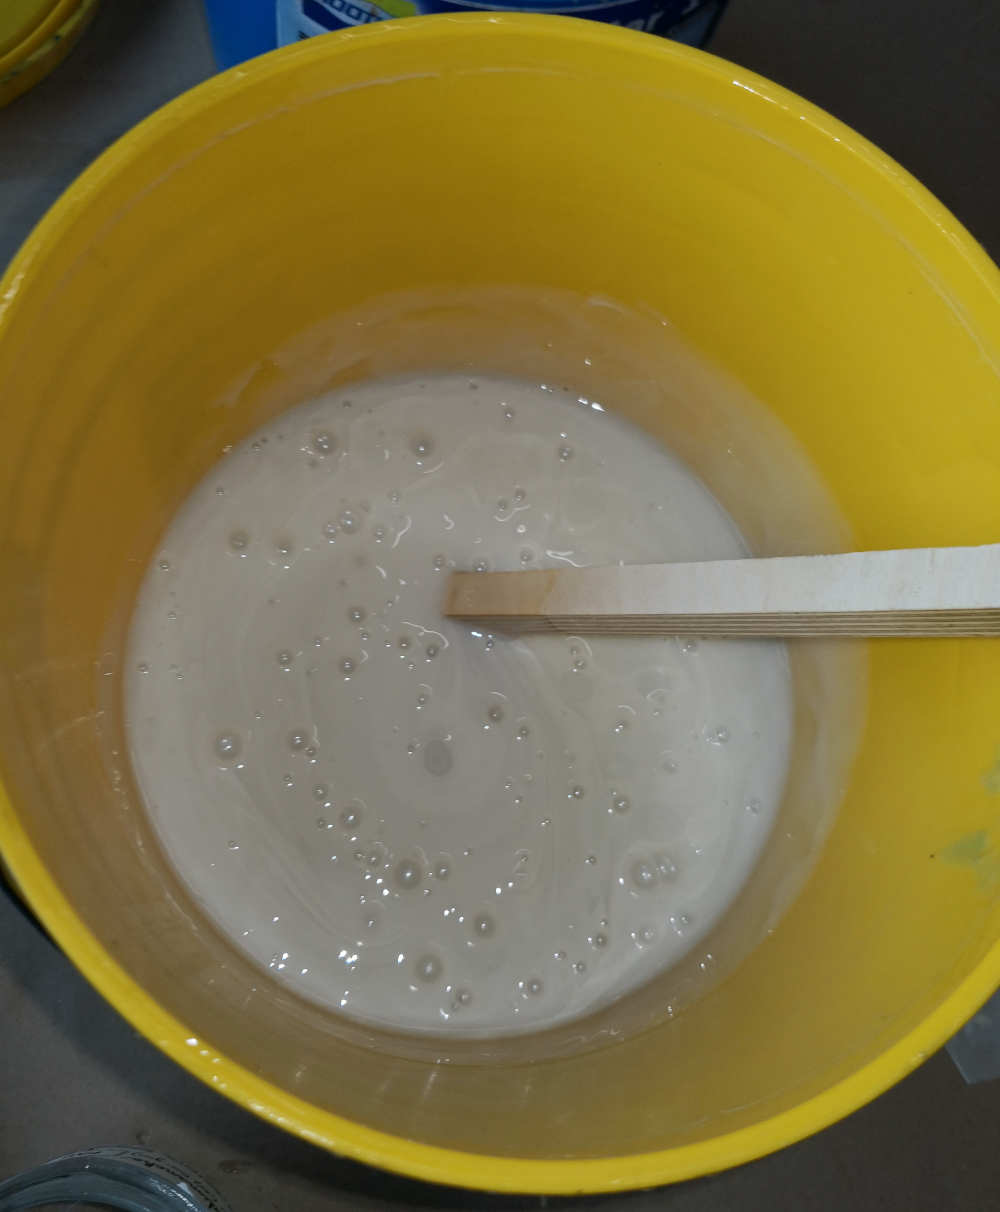
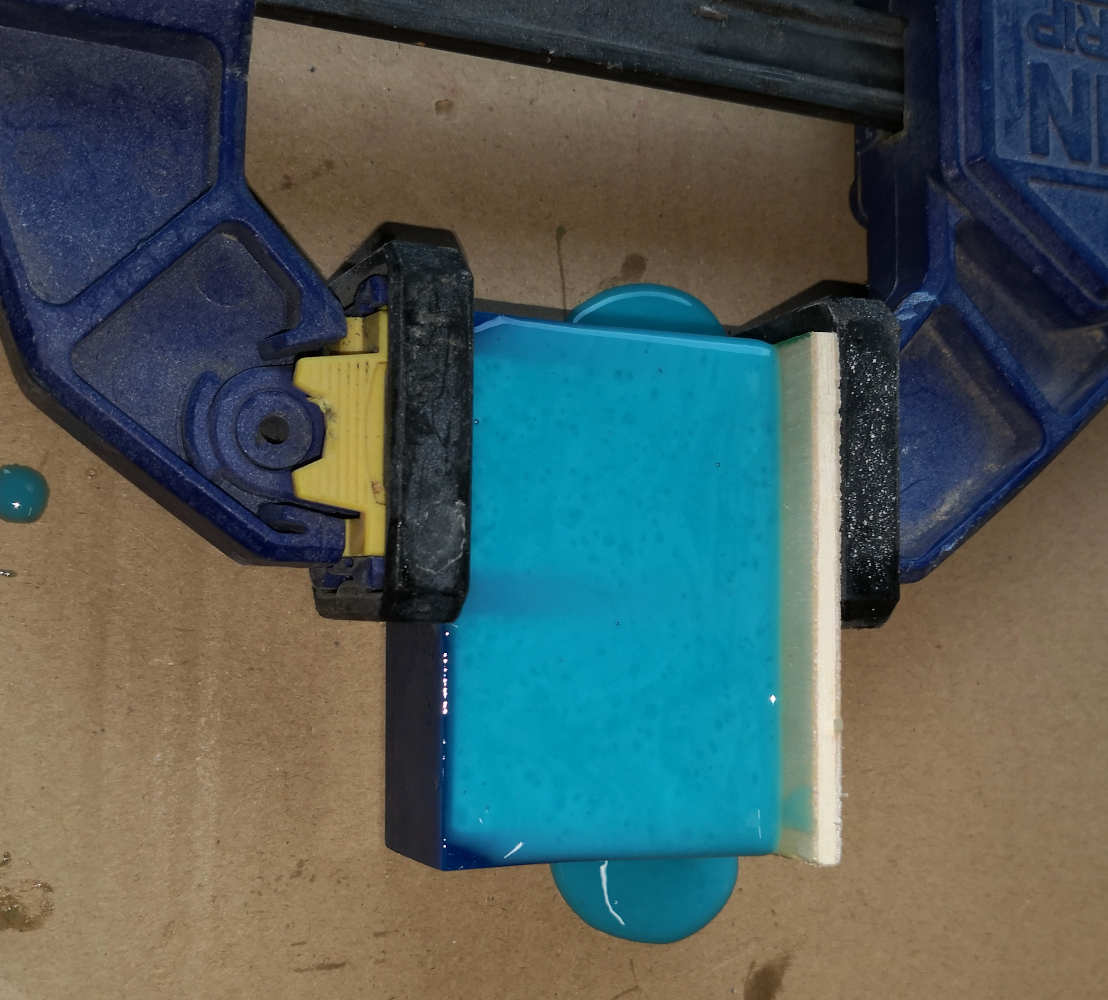
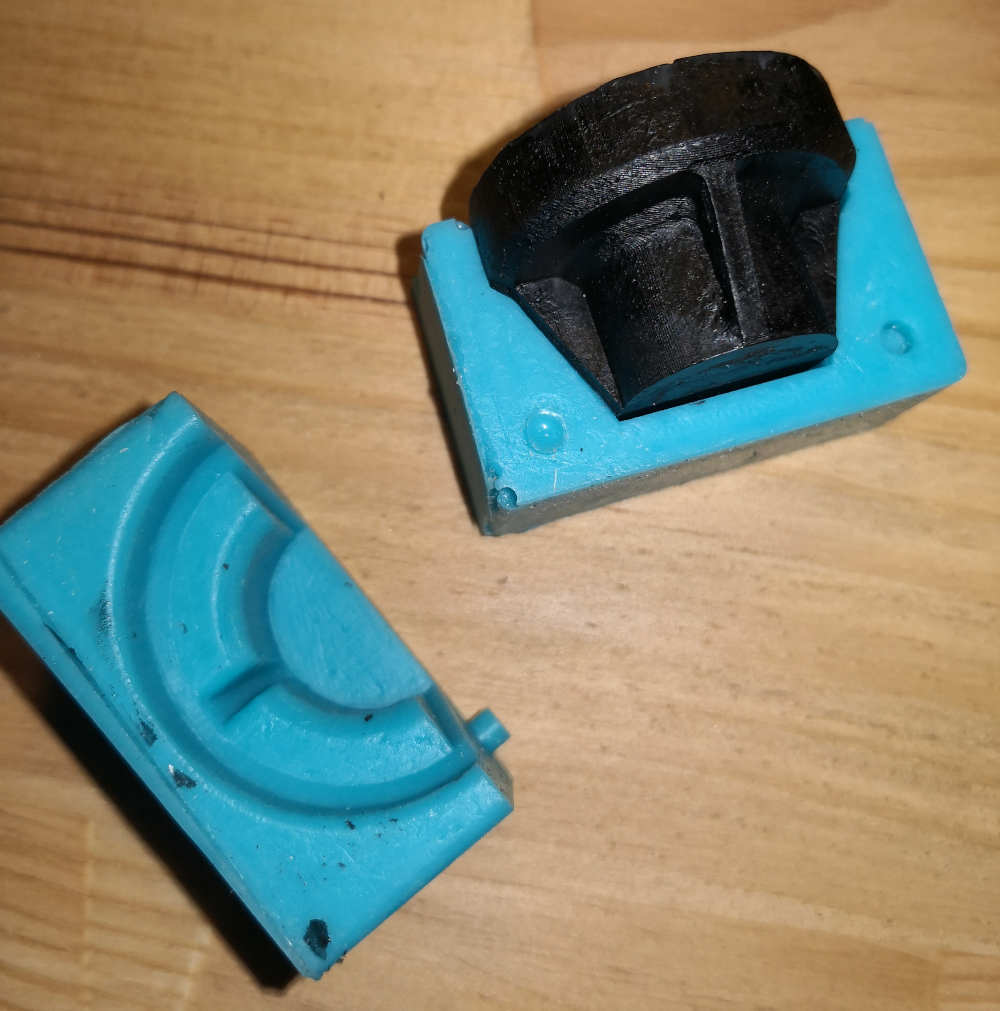
After curing times i have a nice result but i forget to think at one things: silicon rubber is flexible and i don't have really large wall.
For my resine molding i have to re-enforce it with a little bit of wood.

Resin Casting:
When my rubber mold is ready i'm mixing the two solutions of Rhino PU resine & add some split of coloring tints.
Pouring slowly on the silicon mold and..... Fail i forgot to check the table level, i try to leveling it but do more mess as i hope....
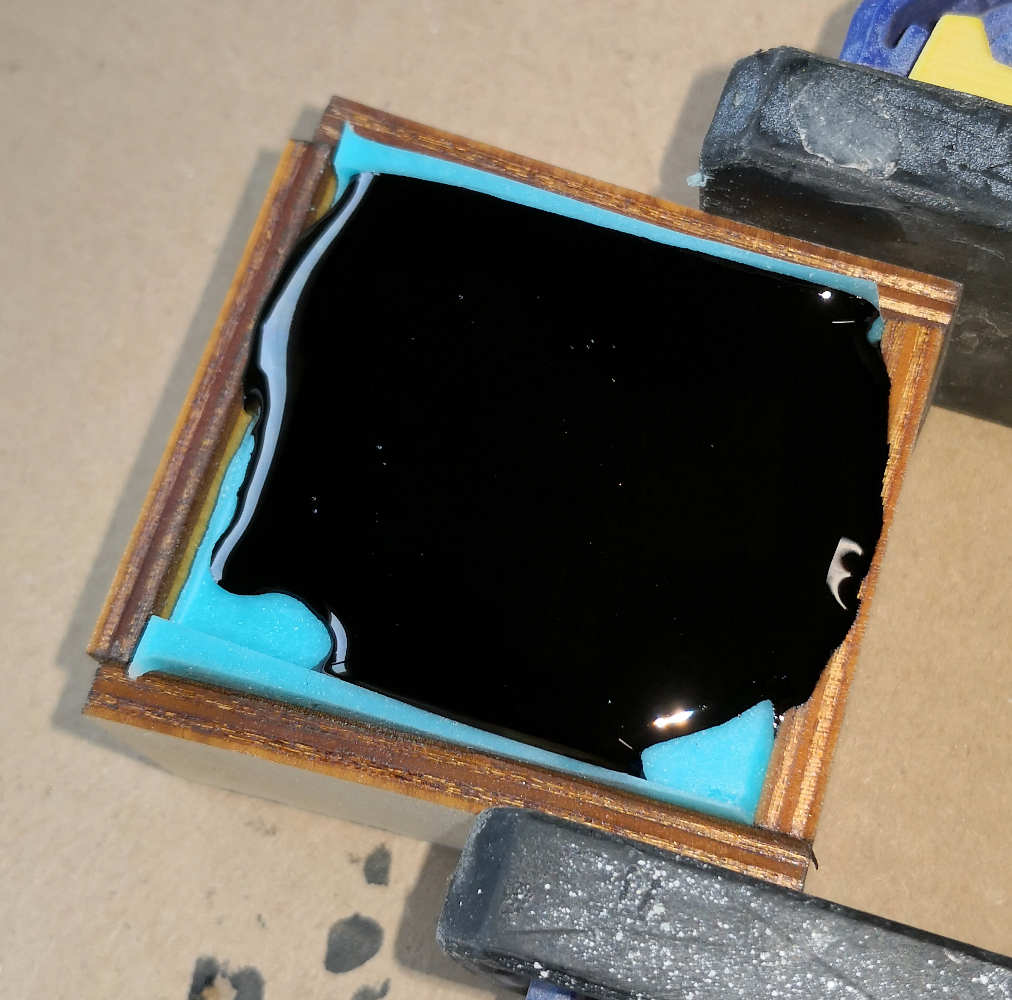
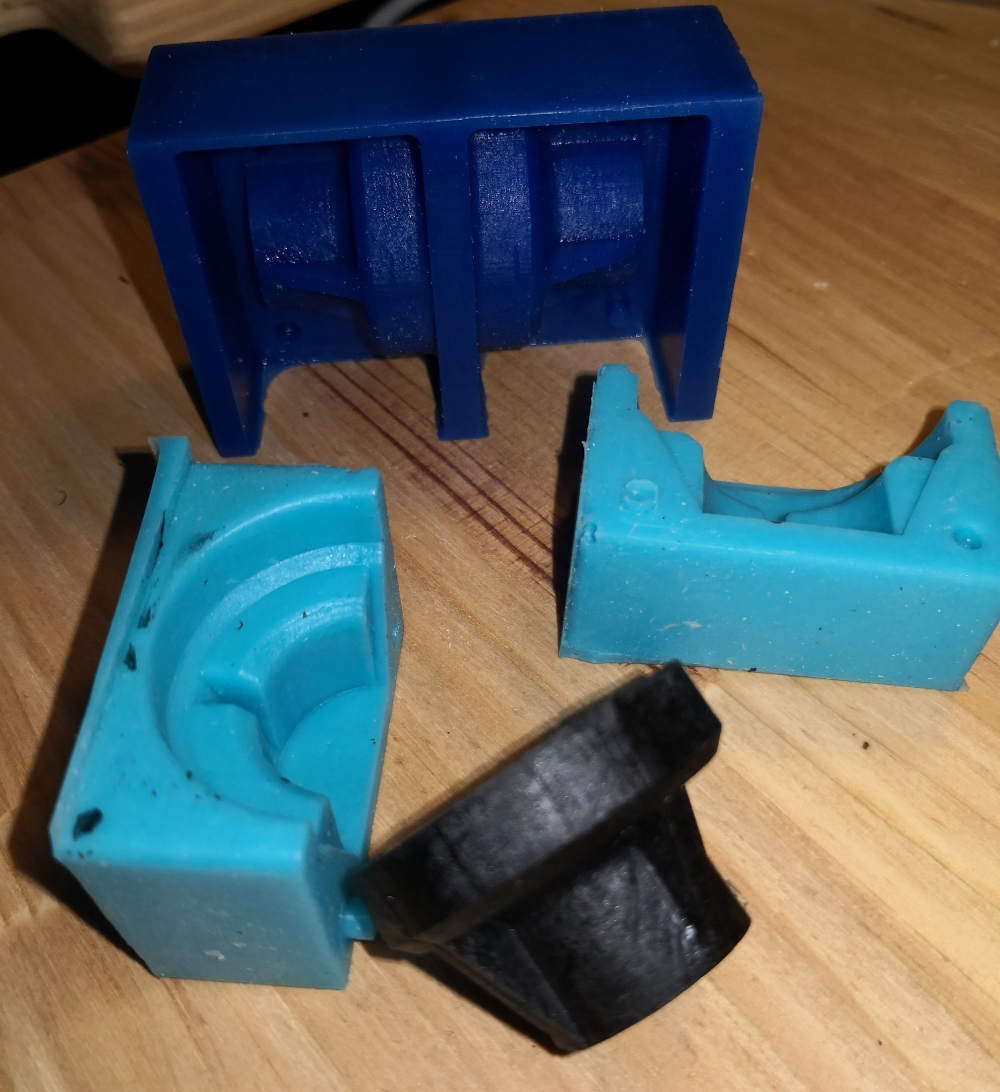
Let's some time for curing and....

I level my mold for a new try and.... Yes that do a great result, futur step to do with this piece is make my axis & fixation hole.